|
 |
|
 |
|
|
|
|
|
|
|
|
|
|
|
|
|
|
|
|
|
|
|
|
|
|
|
|
|
 |
Last page update was 20 Apr 2007 |
 |
|
|
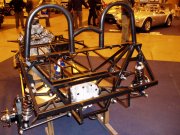
Chassis
Fisher Sportscars  supply a chassis kit complete with integral roll bars. It's mainly 1" square-section in 16-gauge steel. Mine is the 2006 model chassis. For transporting the important statistics are:
- Length 2910mm
- Width 1450mm (1100mm without side-impact protection)
- Height at dash support 450mm
- Weight 58 Kg.
You need to specify the following options:
- Powder coating of the chassis is an additional cost but is essential. The chassis will not stand up well to wet weather and salt, if not powder coated.
- Bike engine or car engine, since they have different engine mounting points.
- Independent Rear Suspension (IRS) or live axle.
- The light-weight option does not have the sheet steelwork welded into the footwell area and requires alloy sheet to be fixed instead. It also uses thinner steel tubing in places. This saves about 7Kg.
- A 1.5" wider drivers side for increased comfort, which makes the transmission tunnel slightly narrower. This means the drivers side is going to be 18¼" wide, which is fine for me. This is now standard for bike engined cars.

|
Another option is side impact protection. These are the pyramids that stick out of the side of the car. They are hidden inside the sidepods and from what I've seen, make the chassis panels and bodywork attachment slightly more complex. Having spoken to Martin at The Kit Car Workshop and seen this option on the chassis, it is substantial and should be a significant safety improvement. I've gone down this route and chosen this option for piece of mind.
|
|
These roll hoops on a Stuart Taylor Motorsport Phoenix were my inspiration.
|

|
Fisher Sportscars can supply pretty much any roll bar design you want and these are mine. Typically the roll-bar is made from 54mm tubing but some use a lighter weight 45mm tubing, which is the minimum specified in MSA regulations.
|
If a car like this is hit from behind, it is the roll bar than can do most damage to the driver. Wearing a helmet makes a huge difference but, adding a helmet pad/support behind the head or a high-back seat will minimise the impact between the helmet and the roll bar. I plan to add one if I don't fit high back seats.
Chassis Numbers
A unique chassis number is required for the SVA test. Fisher Sportscars will supply a VIN plate on my chassis. The best place to stamp a chassis number is on the pedal box as the chassis rails are to thin and dent easily.
Chassis Panels
The supplied aluminium panels are supplied by Fisher Sportscars . They are bonded using Loctite polyeurethane panel bonder (like Sikaflex) to minimise vibration and to reduce the chance of electrolytic corrosion. My local Wilco store sells this stuff.
If needed, the best way of cutting out the panels is with a jig-saw and fine metal blade. Tin snips and a guillotine both tend to round over the cut edge or worse still snag and cause the panel to become distorted. It is also very difficult to cut a straight edge with them.
The side panels are an integral part of the chassis structure and stiffness, so they must be fitted correctly. Each panel is clamped in place and drilled. All holes are then deburred with a proper tool before riveting.
Some people have the panels powder coated before fitting. Because the Fury has external bodywork, you can fit the exterior panels to either side of the chassis tubes. They are designed to fitted to the inside though. Chris had his panels powder coated and also used black rivets to match, which were supplied by Temple Tooling .
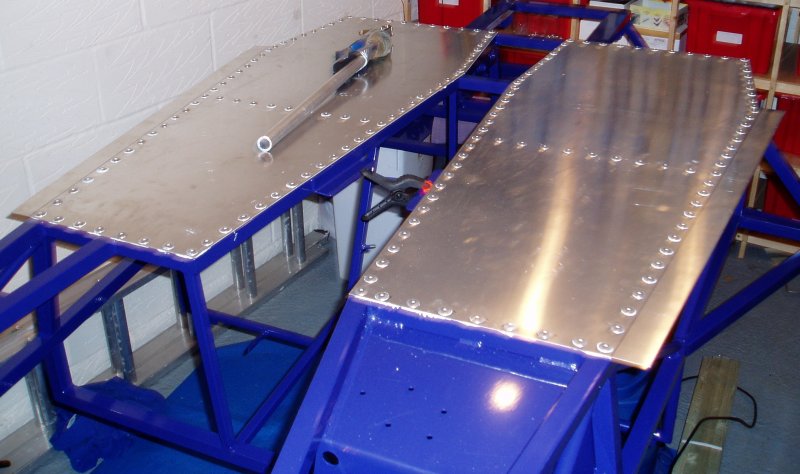
Floor Panels
|
There are two of these and they fitted without trimming. Panels are usually bonded and rivetted to the chassis with 4.8mm rivets with a 50mm spacing. For the floor panels I fixed 4.8mm wide-flange rivets at 40mm spacing to improve the strength a little bit more.
|
There are also two 'fillets' that extend the floor forward and provide something for the front of the sidepods to sit on. These are best fitted at the same time as the floor.
Rear Bulkhead Panels
There are two of these.
Tunnel Panels
There are three of these. The front one basically sits under the dash. The centre on is the one the handbrake comes though and is not symetrical left to right. The rear one is on a slope and will have accessory power sockets on it.
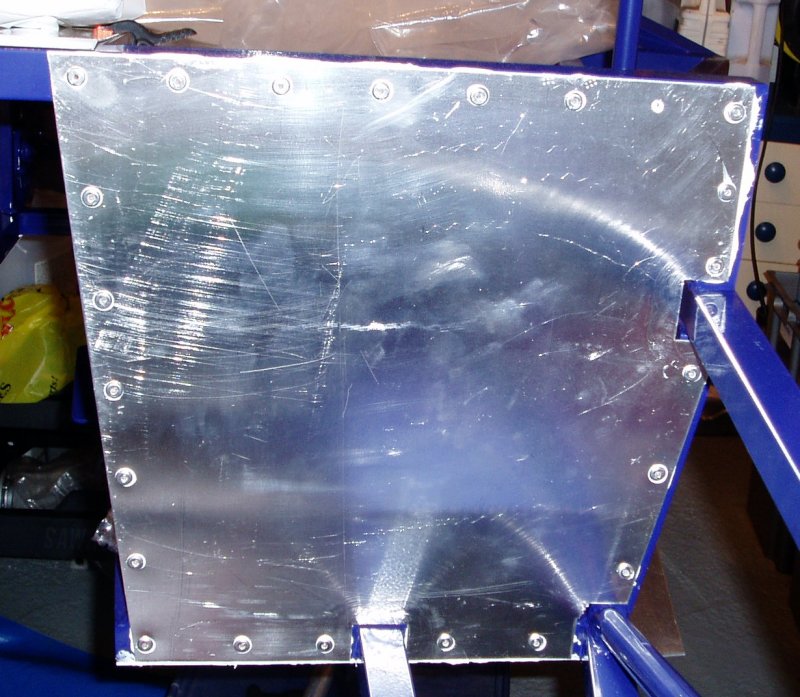
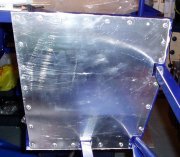
Passenger Footwell Panel
|
A single panel that forms the base of the passenger footwell. This was pre-trimmed to fit. This needs to be well sealed to ensure it is waterproof.
|
Bonnet Frame
This is basically a large hinge to allow the bonnet to lift. I asked for this powder coated with the other parts of the chassis, as it isn't by default. I may still have to paint some of it though as it is has parts within others which mean that is will not all be powder coated.
Footwell Cover
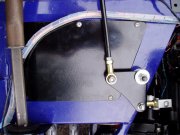
Pedal Box Plate & Gear Shift Lever
|
For SVA, there needs to be a firewall between the engine and the driver. The large hole above the footwell is there to allow things to be attached and adjusted but must be covered over. This cover needs to be made removeable and unlike my initial design, it needs to be fitted such that it can be easily removed from under the bonnet. Access to it from within the car is really difficult once the bodywork is on.
|
Steering Rack Mounts
See steering design.
Harness Mounts
See seating design.
Other
Interestingly, on the new Caterham CSR chassis, they added 'fillet plates' to the transmission tunnel and these made a noticable difference to the rigidity of the chassis. Not sure how comparable the Fury chassis is in this respect but it might be worth investigating, as it adds very little additional weight.
Panelling The Chassis
First of all, make sure you have the right tools for the job! The general approach to panelling the chassis is:
- If in doubt, make a template for the panel first from pieces of card.
- Clamp the trimmed panel in place to check it fits correctly.
- Use many clamps and a pieces of wood to protect the panel surface.
- Mark the chassis rail centre lines on the outside of the panel using a pencil.
- Mark the rivet points with a permanent marker pen.
- Double check the spacing and positioning.
- Drilled 3mm pilot holes through the panel and into the chassis with a high-power electric drill.
- Remove the panel and re-drill both the panel and chassis holes with to 3/16inch or 5mm.
- Debur the holes with a countersink and a cordless drill.
- Apply panel adhesive before riveting in place, to help fasten the panels and avoid creaky panels.
Useful Information
|
|
|
|
|
|
|
|
|
|
|
|
|
|
|
|
|
|
|
|
|
|
|
|
|
|
|
|
|
|
Copyright © Robert Collingridge 2004 |
|
|
|